
Ive had fun with this one! I promised a blog post on the making of it so here we go, with tips and tricks on the way. First came the making of the pattern.
This is a basic shift dress, its been invented a thousand times. Its easy to make, easy to wear. I am happy to fiddle with a bit of pattern drafting, but, I know that this can fill some with utter 'run for the hills' dread :) Fear not though.

I took a basic pull on vest top which I found in the book "Simple Modern Sewing" page number 110. It was simple and had no bust darts, which although darts can be very useful for shaping, they can also be a right fidget to get placed correctly (mainly because no bosom is placed the same as another, and after several children, and an even greater number of years, they completely forget where they are supposed to be anyway...). *clears throat*
I altered the shoulders a smidge by marking a sharper slant from the neck edge to the arm edge. This took up some slack from the arm hole and avoided gape. I also lowered the armhole bottom edge by 7cms to make them deeper and instead of joining at the bottom armhole edge, they simply come together as part of the seam. You can see this in the detail further below. I measured how long I wanted the dress to be and simply extended the pattern downwards and out at an angle. It can be cut from just 1 metre of fabric. Bonus, as it makes the dress a very cheap make.

Had to oil up 'Jenny Jones' my 1960s sewing machine... Come on Jenny, we can do this...

I usually detest bias binding, but told myself quite firmly at the start, that it was no good and I just 'had to get on with it'. So I got on with it, and lo and behold, all was well. I was pleased with a job well done.

Here is the underarm join. See what I mean. No possibility of a gaping underarm bound edge (they can sometimes lean outward here). Simply bind the entire arm hole opening on each side, before joining the side seams.

Its nice and tidy if you press the neatened seam to the back of the dress and then run a little top stitched seam to make sure it stays tucked out of the way.

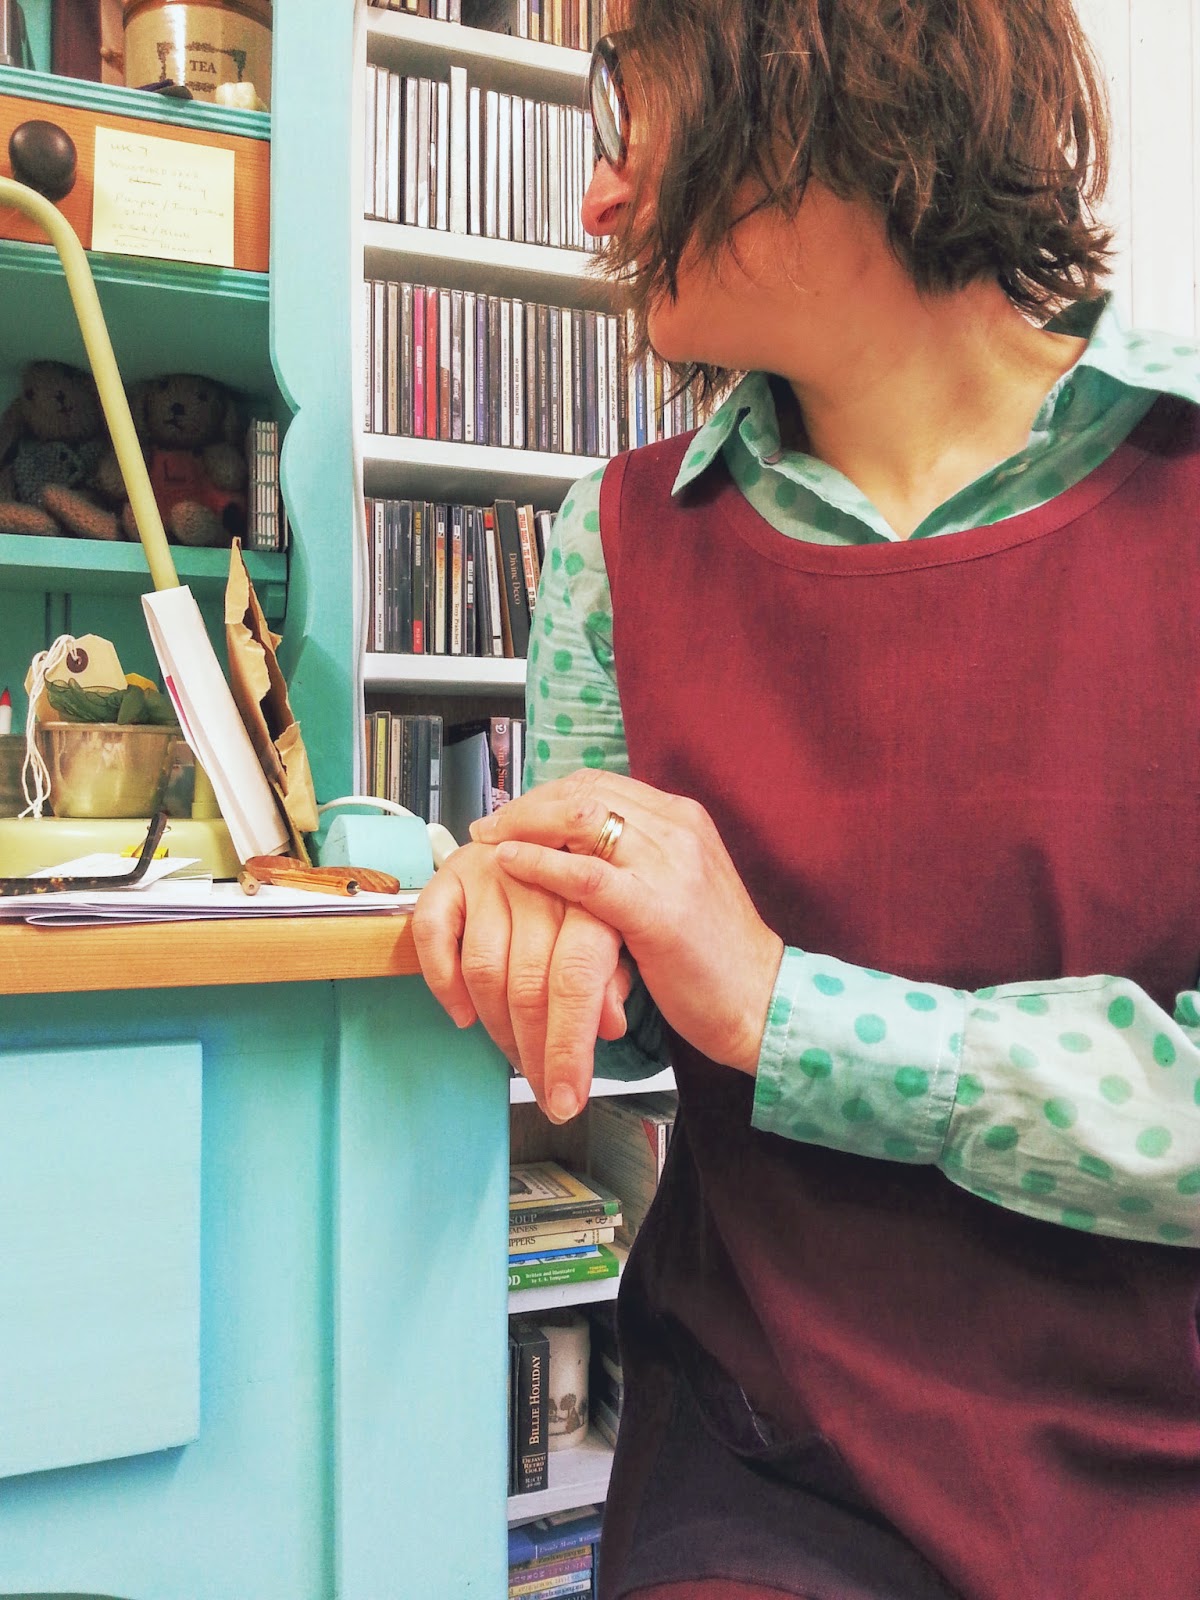
The dress happily avoids the '8 months pregnant' look and hangs beautifully. See how nicely that underarm works. This will be nice and airy in the summer when worn 'topless' ;)


Swish, swish... even managed to pop a nice patch pocket on for my hankie... I found a scrap of deep damson linen from my last bloomers make. They will be lovely worn with this too.
There will be more. Its a great blank canvas and Summer is a coming... plus, I accidentally spent 1 hour looking at Ikea fabrics online and my head went rather spinny thinking of the dresses I could make using the gorgeous prints. At only £4ish per metre I could make 2 for less than £10.
My next one will be finished with homemade bias binding, something Ive never done before. I tried once, but it went all ruckly in the little bias binding maker gadgety thingy. Apparently you need to starch the fabric first so I had a little google of homemade starch recipes. Most interesting. Did you know you can use Vodka, 2 parts water to 1 part Vodka as a spray starch? Neither did I. I have visions of dressmakers across the country "one spray for the fabric, one spray for me". And suddenly bias binding making is a new worldwide craze, and wonky necklines are the latest fashion accessory!
1 metre chaps, 1 metre...
Ren x
Post a Comment